

Simple, Cut-to-Fit Installation
Next Surface stair retreads are designed to install directly over existing stair treads. For most closed staircases, installation comes down to three basic steps: measure, cut to fit, and secure with construction adhesive.
Measure
Measure each stair individually for an accurate fit.
Cut
Cut the retread to the required width and depth using standard woodworking tools.
Glue
Apply construction adhesive and place the retread directly over the existing stair.
Install Videos
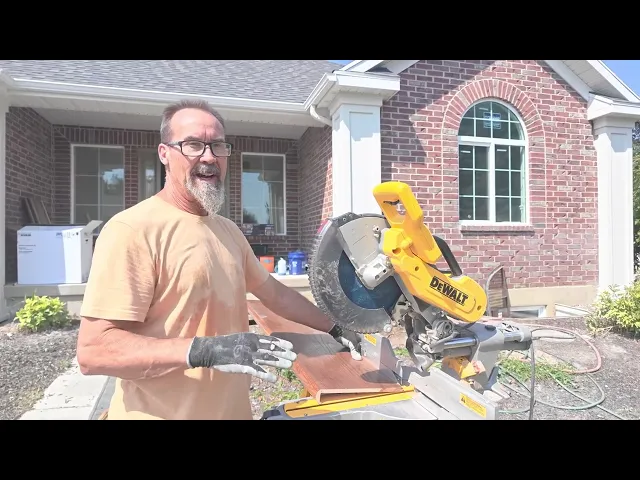
Install Instructions

Tools Needed
Pry bar & utility knife
Measuring Tape
Carpenter's Square
80+ tooth count blade
Miter Saw or Circular Saw
Open List

Before you Begin
These instructions are intended for converting an existing carpeted staircase to a hard-surface stair system using Next Surface treads and risers.
Because existing stairs can vary in size and condition, each step should be inspected and measured individually. Always dry fit each component before applying adhesive.
If staining the unfinished real wood veneer treads, stain the treads before cutting and installing them.
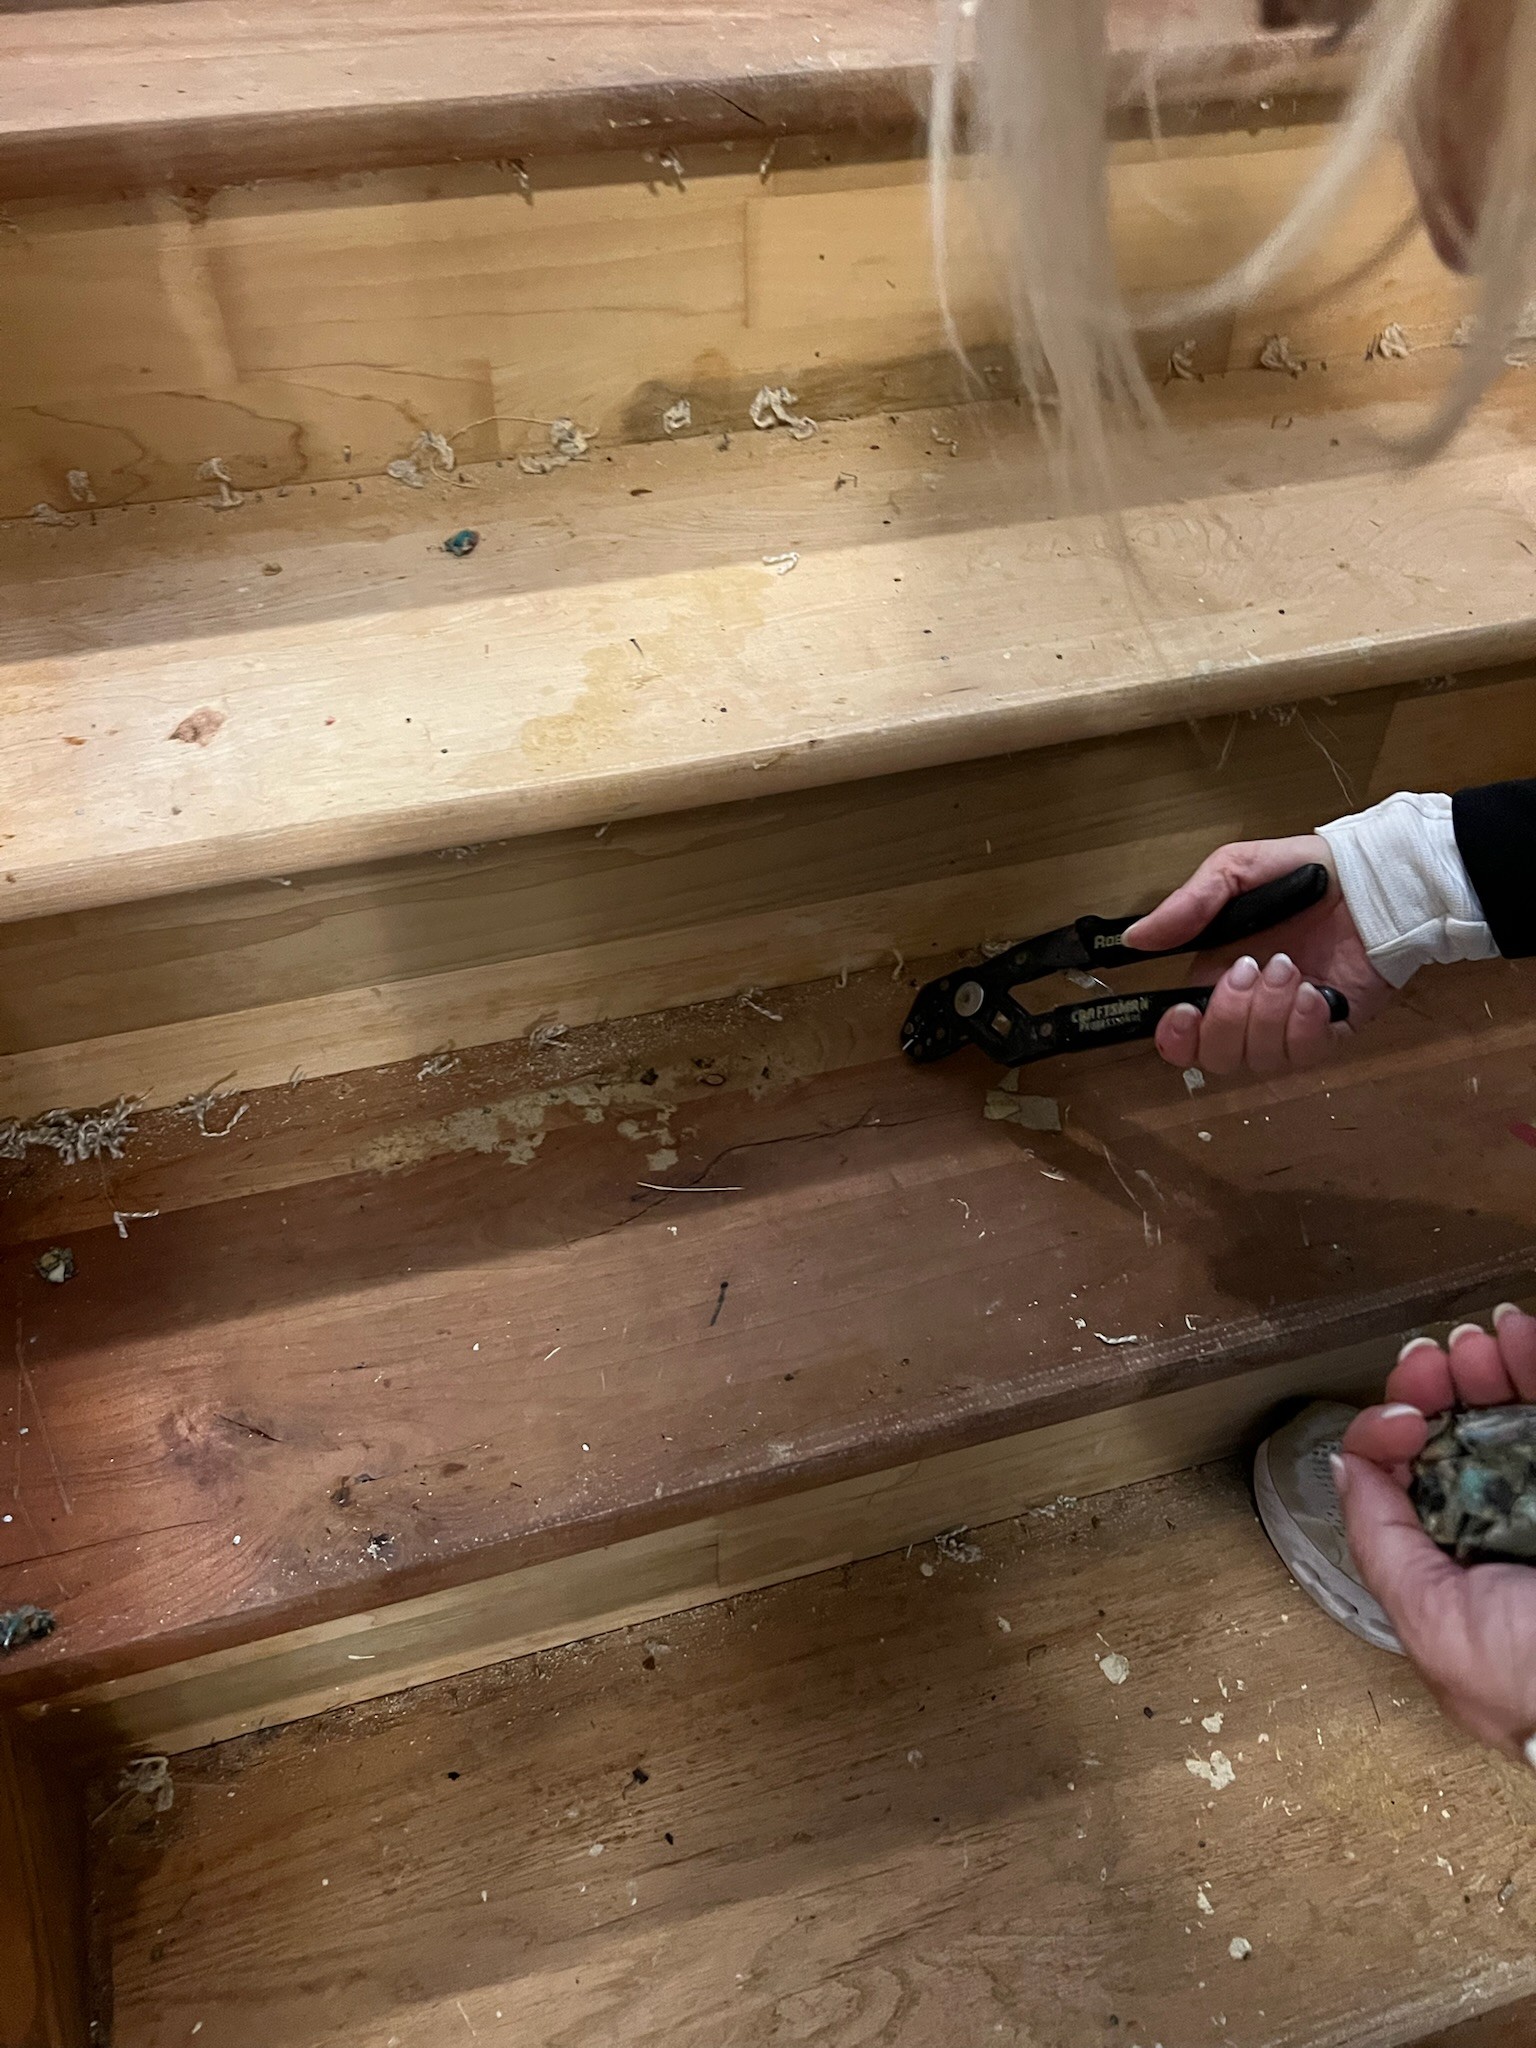
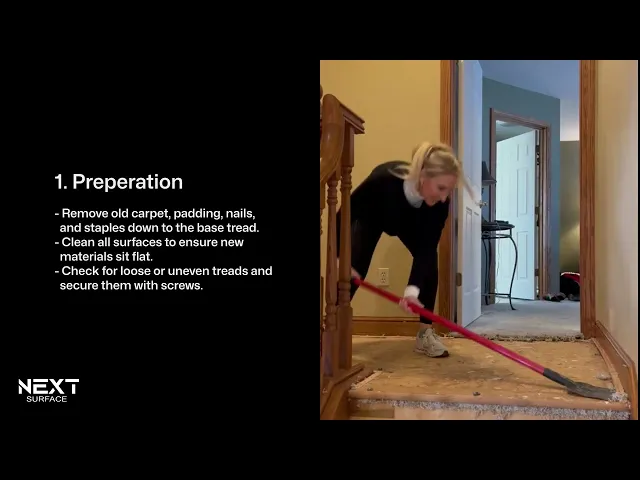
Remove Carpet & Prepare the Stairs
Hammer or nail puller
Vacuum
broom
1
Remove all existing carpet and padding from the staircase.
2
Remove all tack strips, staples, nails, adhesive residue, and other materials from the existing treads and risers.
3
Sweep and vacuum thoroughly to create a clean, smooth installation surface.
4
Inspect the exposed staircase for loose, damaged, or uneven treads and risers.
5
Secure loose components with screws and correct uneven areas before proceeding.
6
Check the existing stair nose overhang. If it extends more than ¾", shim spacers may be required behind the new riser to achieve the proper fit.
Before proceeding: Confirm that the exposed staircase is structurally sound, clean, dry, level, and free of protruding fasteners or debris.
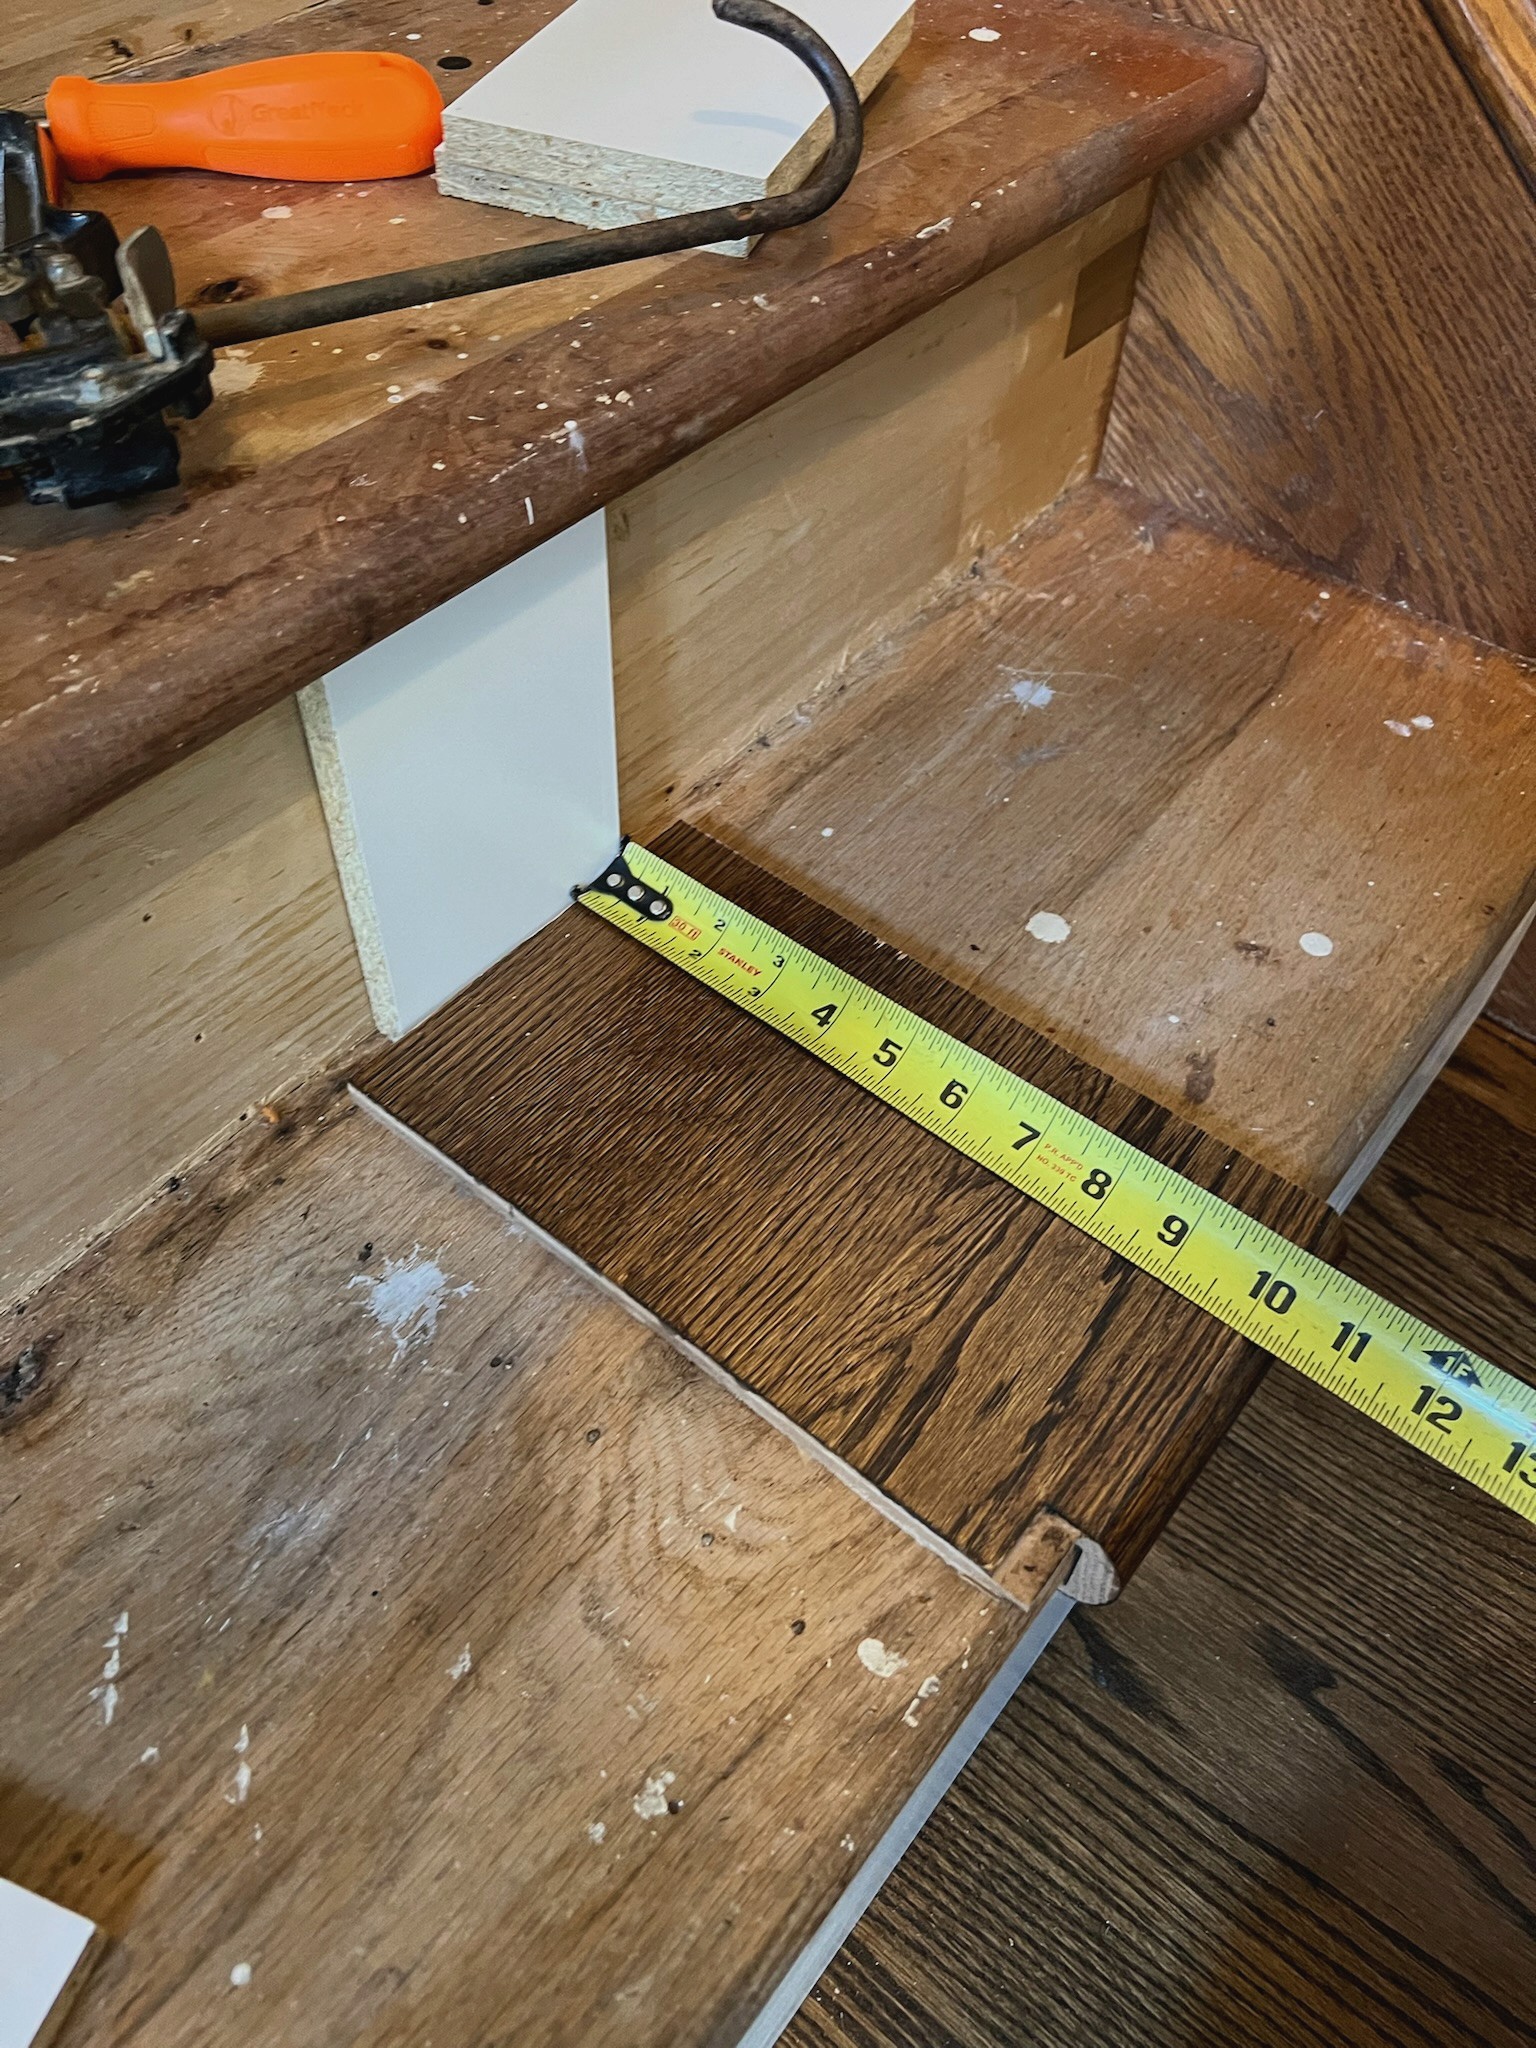
Measure & Plan
Measuring tape
1
Measure each tread and riser individually—stairs often vary slightly.
2
Record: Tread width (side-to-side), Tread depth (front to back), Riser height (bottom to top)
3
Determine whether your stairs are square cut or open-ended, where one or both sides of the tread are exposed.
4
Label your measurements by step number so each cut tread and riser can be matched to the correct stair.

Cut Treads & Risers
1
Using your measurements, cut each riser and tread to fit, leaving 1/16” to 1/8” gap for best fit.
2
Dry fit each piece and trim as needed to achieve a precise fit.
3
Apply painter’s tape along the finished surface where cuts will be made to help reduce chipping.
4
For open-ended stairs, carefully measure, fit, and cut the return as required.
Tip: Measure twice and cut once. Because stair dimensions can vary, do not use the first tread or riser as a template for the remaining steps.

Install the Riser
Glue
Painters tape
Caulk gun
1
Begin at the lowest step and work upward.
2
Dry fit the riser and confirm proper fit before applying adhesive.
3
Apply a generous zigzag bead of construction adhesive to the back of the riser.
4
Position the riser against the existing stair structure and press firmly into place.
5
Use painter’s tape or clamps as needed to hold the riser securely while the adhesive sets.
6
Wipe away any excess adhesive immediately.
Tip: If the old stair nose overhangs more than ¾", use shim spacers behind risers to achieve proper fit.

Install the Tread
Glue
1
Dry fit the tread and confirm proper fit and alignment before applying adhesive.
2
Apply construction adhesive to the existing stair tread in a generous zigzag pattern.
3
Position the new tread over the existing stair, making sure the tread nose seats properly against the newly installed riser.
4
Press the tread firmly into position.
5
Check the tread for proper alignment and level.
6
Apply consistent downward pressure or use appropriate weights to hold the tread securely while the adhesive sets.
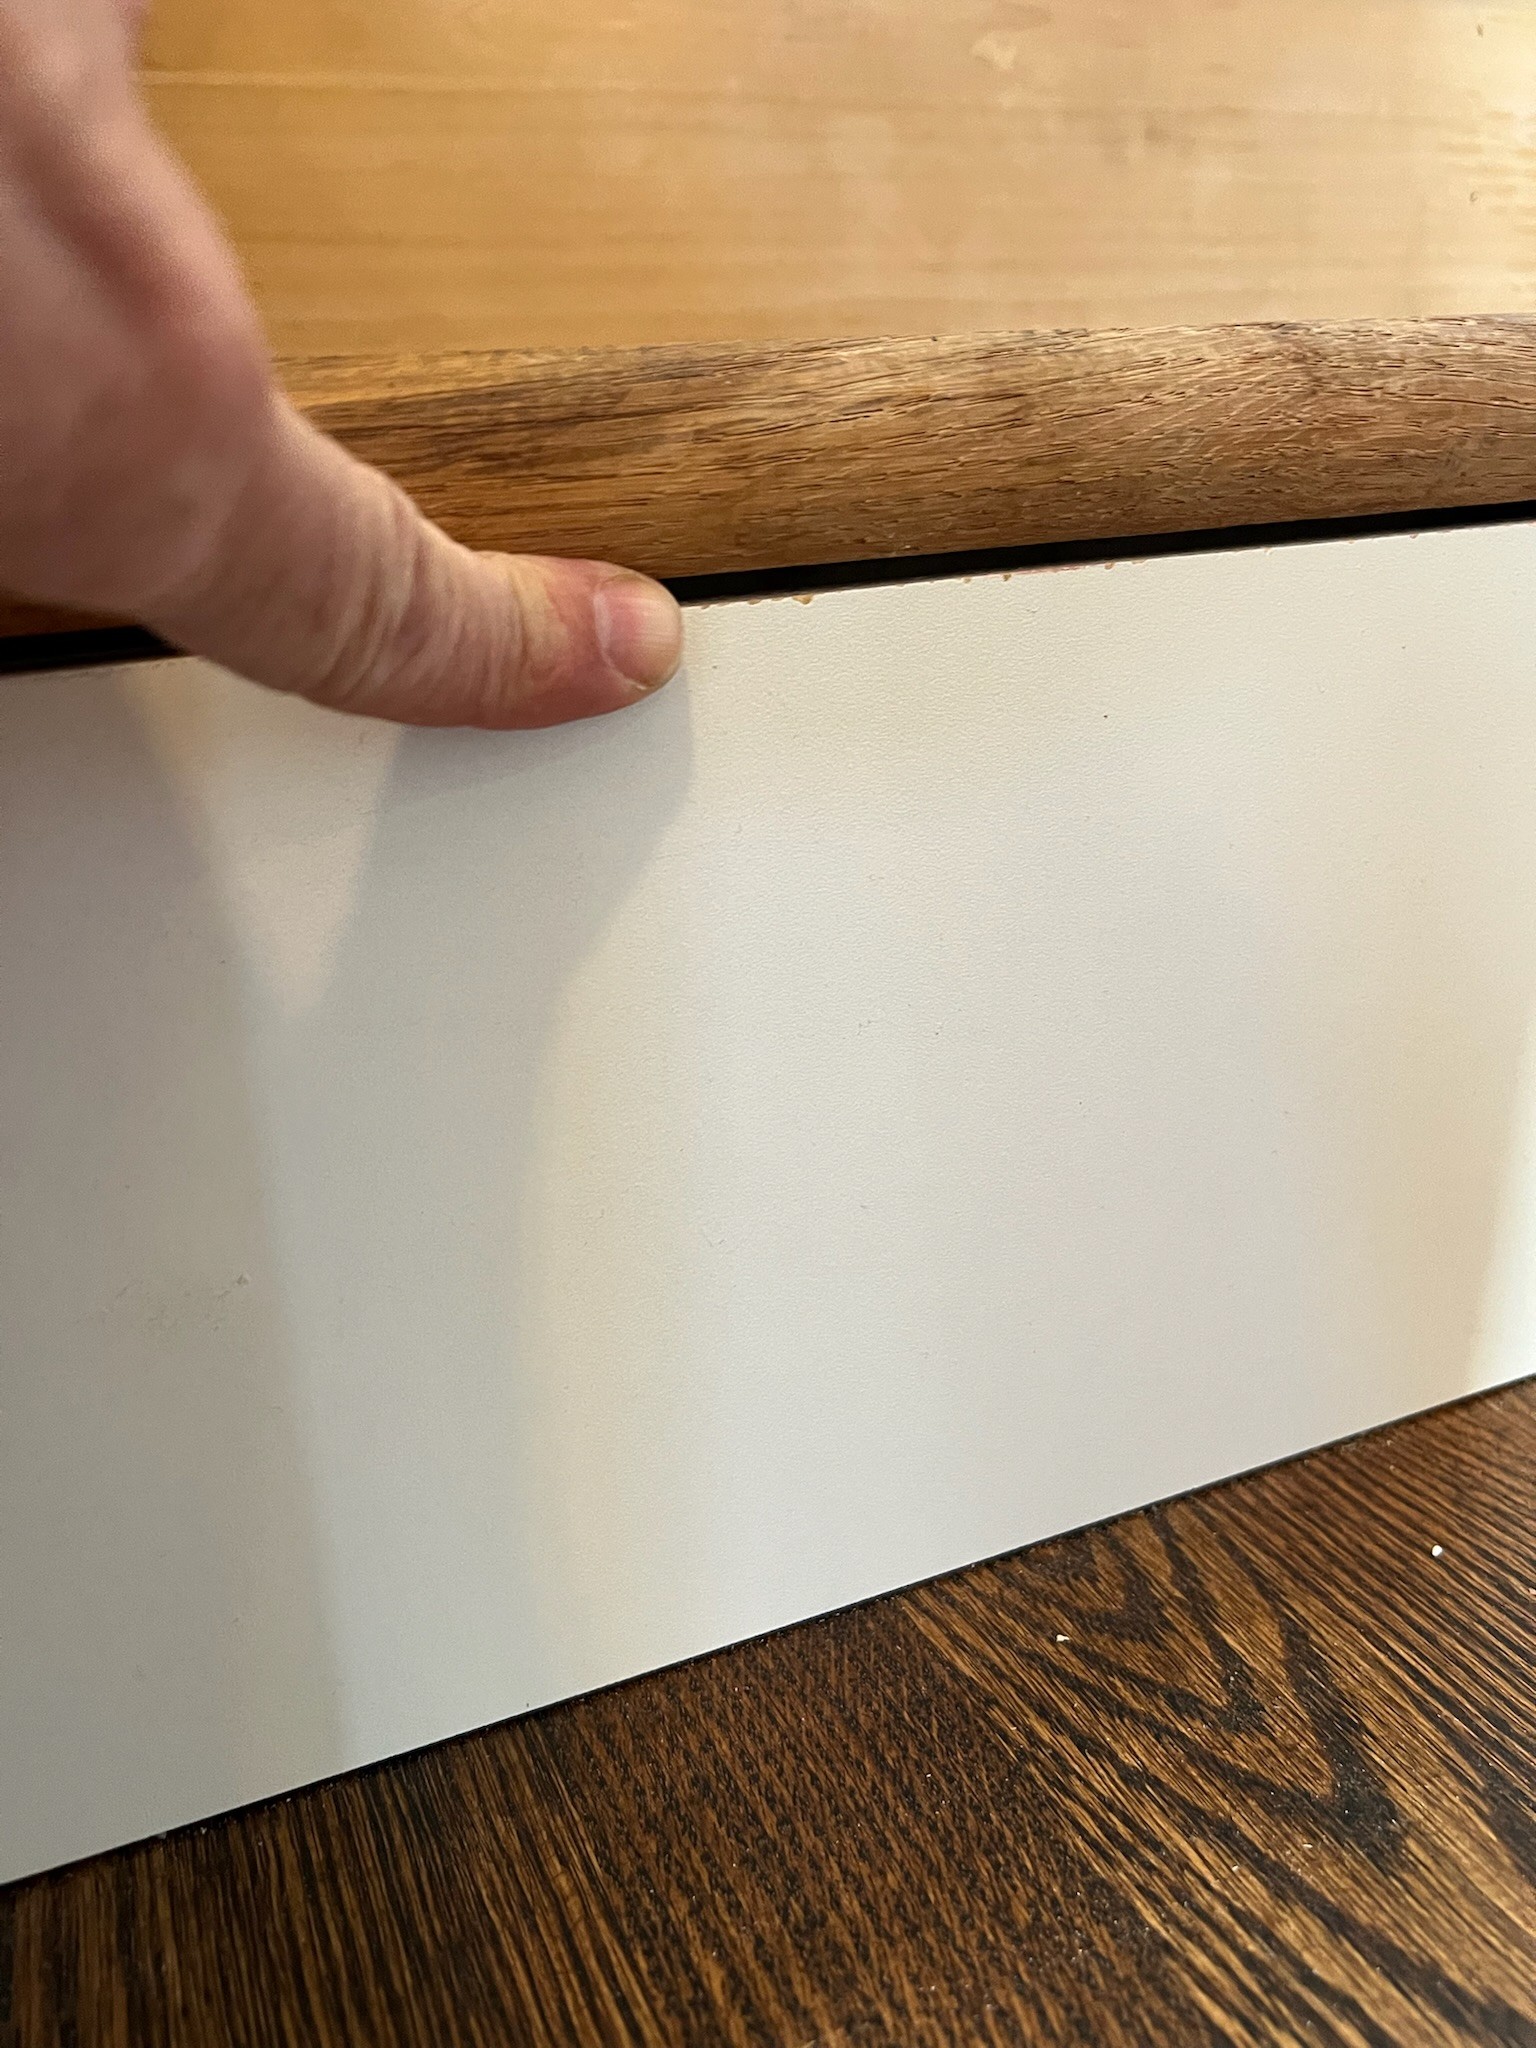
Repeat & Check Alignment
1
Continue working upward, installing each riser followed by its corresponding tread.
2
As you work, verify that: Each tread and riser fits securely, treads are level and properly aligned, risers and treads sit firmly against the existing staircase, and finished edges and spacing remain consistent from step to step.
3
Correct any fit or alignment issues before moving to the next step.

Finishing Touches
1
Once installation is complete, inspect the entire staircase for gaps or areas requiring finishing.
2
If desired, apply an appropriate color-matched caulk along wall edges for a clean, finished appearance.
3
Remove painter’s tape and clean the staircase thoroughly.
4
Allow the construction adhesive to fully cure according to the adhesive manufacturer’s instructions before allowing heavy traffic. Typical cure time may be 24–48 hours.
1.
Can Next Surface stair retreads be installed as a DIY project?
2.
How long will installation take?
3.
Can I install them over my existing stairs?
4.
How do I know if I need mitered pieces?
5.
Are the treads durable enough for everyday use?
6.
Pricing & shipping
Products